Just... look at the title. Happy New Year, from the Stitchin' Bitch. I'm not dead! Things are coming! Unfortunately, another year is passed and I totally forgot to finish the goddamn new years eve dress that I've been planning. (it's a thing. One day you might learn about it.) I'm still regrouping and figuring out what to do next... in the meantime here's a filler project for any of you that might still have belated holiday gifts to give out:
So, by request:
DIY Tea Bags!
I wish I had an artsier picture so here's the one I stole from the site that gave me the idea:
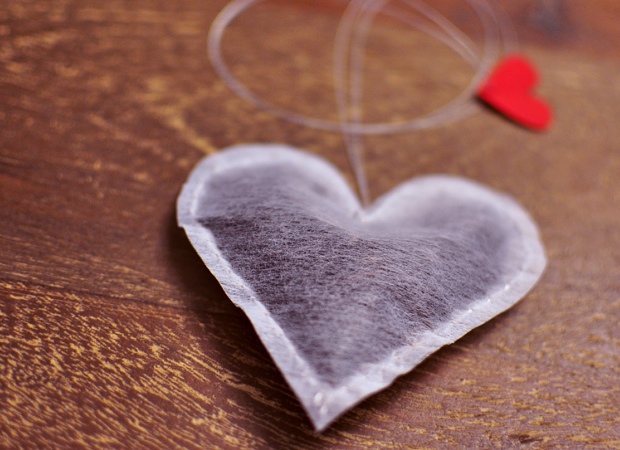 |
| mine looks vaguely similar |
For this project you will need:
 |
| sewing shears... because that's what I had. |
- loose leaf tea
- coffee filters
- needle
- undyed thread (I just prefer un-dyed just in case the dye they use is bad for you.)
- scissors
How to do it:
- Gather your materials in a dry place- I got about 15 coffee filters wet doing this project because I was too lazy to clean up earlier. Now I have about 15 unusable coffee filters. Thankfully these are sort of cheap.
- Flatten out two coffee filters on top of each other. Sort of rub it around until they are flat... nothing fancy.
 |
| nice and flat |
- Cut out your shape. I chose hearts and made an attempt at a skull. Anything symmetrical works out well because... less cutting...
 |
| You'll notice I'm doing stuff with one hand, that's because I'm using a camera phone. Only the highest in production value for you guys |
- Grab your needle and thread. I use a running stitch- up, down, up down (pause to giggle for sex jokes) for those of you unaccustomed to the names of things- to go around the edges of the bag. Only go about halfway, you need a space to add the tea.
 |
| this is how I speed up the process, fold and poke. |

- Get a scoop, add the tea. It helps to compare the amount of tea you use to a commercial tea bag. Just remember that tea leaves need to... unfurl fully within the bag get into the water so don't pack it too tightly.
 |
Earl Blue, it's a thing, apparently. It pretty much tastes
like Earl Grey |
 |
| one handed. |
6. Once you're finished filling, finish sewing it up. You can knot it however you want.
 |
| There you go, one skull... ish and a heart. |
And that's about it. Tea bags, in any shape you'd like. They make great gifts and are faster to make the longer you do them. I'm looking into a faster way to seal them but as it is, this method works pretty well for me, it's just time consuming. It took me about 30 minutes to make 5.
 |
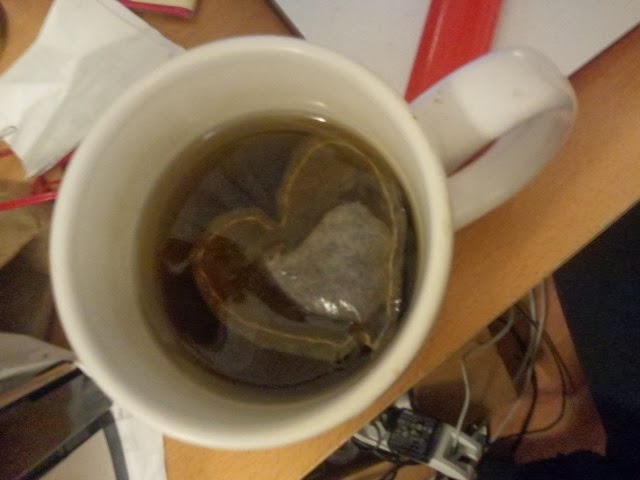
| What it looks like in cup. Kind of sweet, like a hug. |
So there you go, enjoy your tea bagging... wow this post is less, curse-word-ridden and more sexual innuendo-ey.
Happy Fucking 2014, Bitches.


